
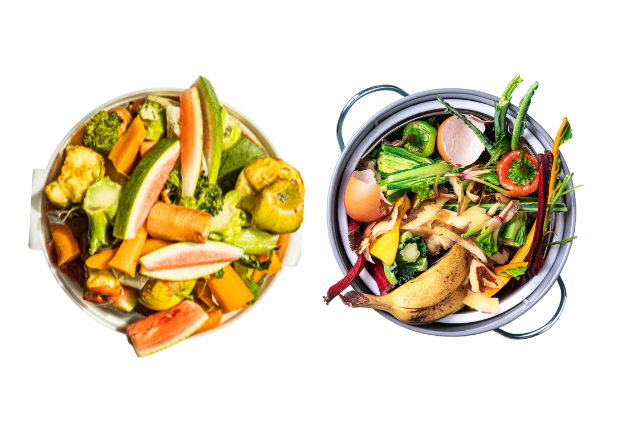
If you’re composting, you’ve probably heard about “green” and “brown” materials. Green compost materials are the nitrogen-rich stuff that speeds up decomposition and creates nutrient-dense compost. Think kitchen scraps, fresh grass clippings, and coffee grounds.
The best part? Most of these materials are already sitting in your kitchen or yard, going to waste. Instead of tossing them in the trash, you can turn them into “black gold” for your garden—completely free.
This guide breaks down the best green compost materials you can use at home, how to use them properly, and how to avoid common mistakes that slow down your compost pile. Let’s turn your scraps into something amazing!
What Are Green Compost Materials?
Green compost materials are nitrogen-rich ingredients that fuel the decomposition process in your compost pile. They’re called “green” because most of them are fresh, moist, and recently alive—though not all are actually green in color.
Green materials include:
- Kitchen scraps (fruit and veggie peels)
- Fresh grass clippings
- Coffee grounds and tea bags
- Plant trimmings
- Fresh weeds (without seeds)
- Animal manure (from herbivores only)
These materials balance out the carbon-heavy “brown” materials (like dry leaves and cardboard) that provide structure to your compost pile. Together, they create the perfect environment for microorganisms to break everything down into rich, usable compost.
The magic ratio: About 1 part green to 2-3 parts brown.
Why Green Materials Matter
Speed Up Decomposition
Nitrogen feeds the bacteria and microorganisms that do the actual work of breaking down your compost. Without enough greens, your pile will sit there doing nothing.
Add Essential Nutrients
Nitrogen is one of the three main nutrients plants need (along with phosphorus and potassium). Green materials ensure your finished compost is nutrient-rich.
Keep Your Pile Active
A healthy compost pile generates heat as materials break down. Green materials are what keep that process going strong.
Best Green Compost Materials
Fruit and Vegetable Scraps
What qualifies:
- Peels and cores
- Wilted lettuce and greens
- Overripe produce
- Stems and leaves
- Leftover salad
What to avoid:
- Citrus peels (in large amounts—too acidic)
- Cooked vegetables (can attract pests)
- Moldy or rotten produce
Tip: Keep a small compost pail on your kitchen counter to collect scraps throughout the day. Makes composting way easier.
Kitchen Compost Pails
PREVIEW | PRODUCT | BEST FOR | PRICE | VIEW |

| Bamboozle Compost Bin Bamboo, Easy-carry handle, 1 gallon | Small kitchens | $$ | |
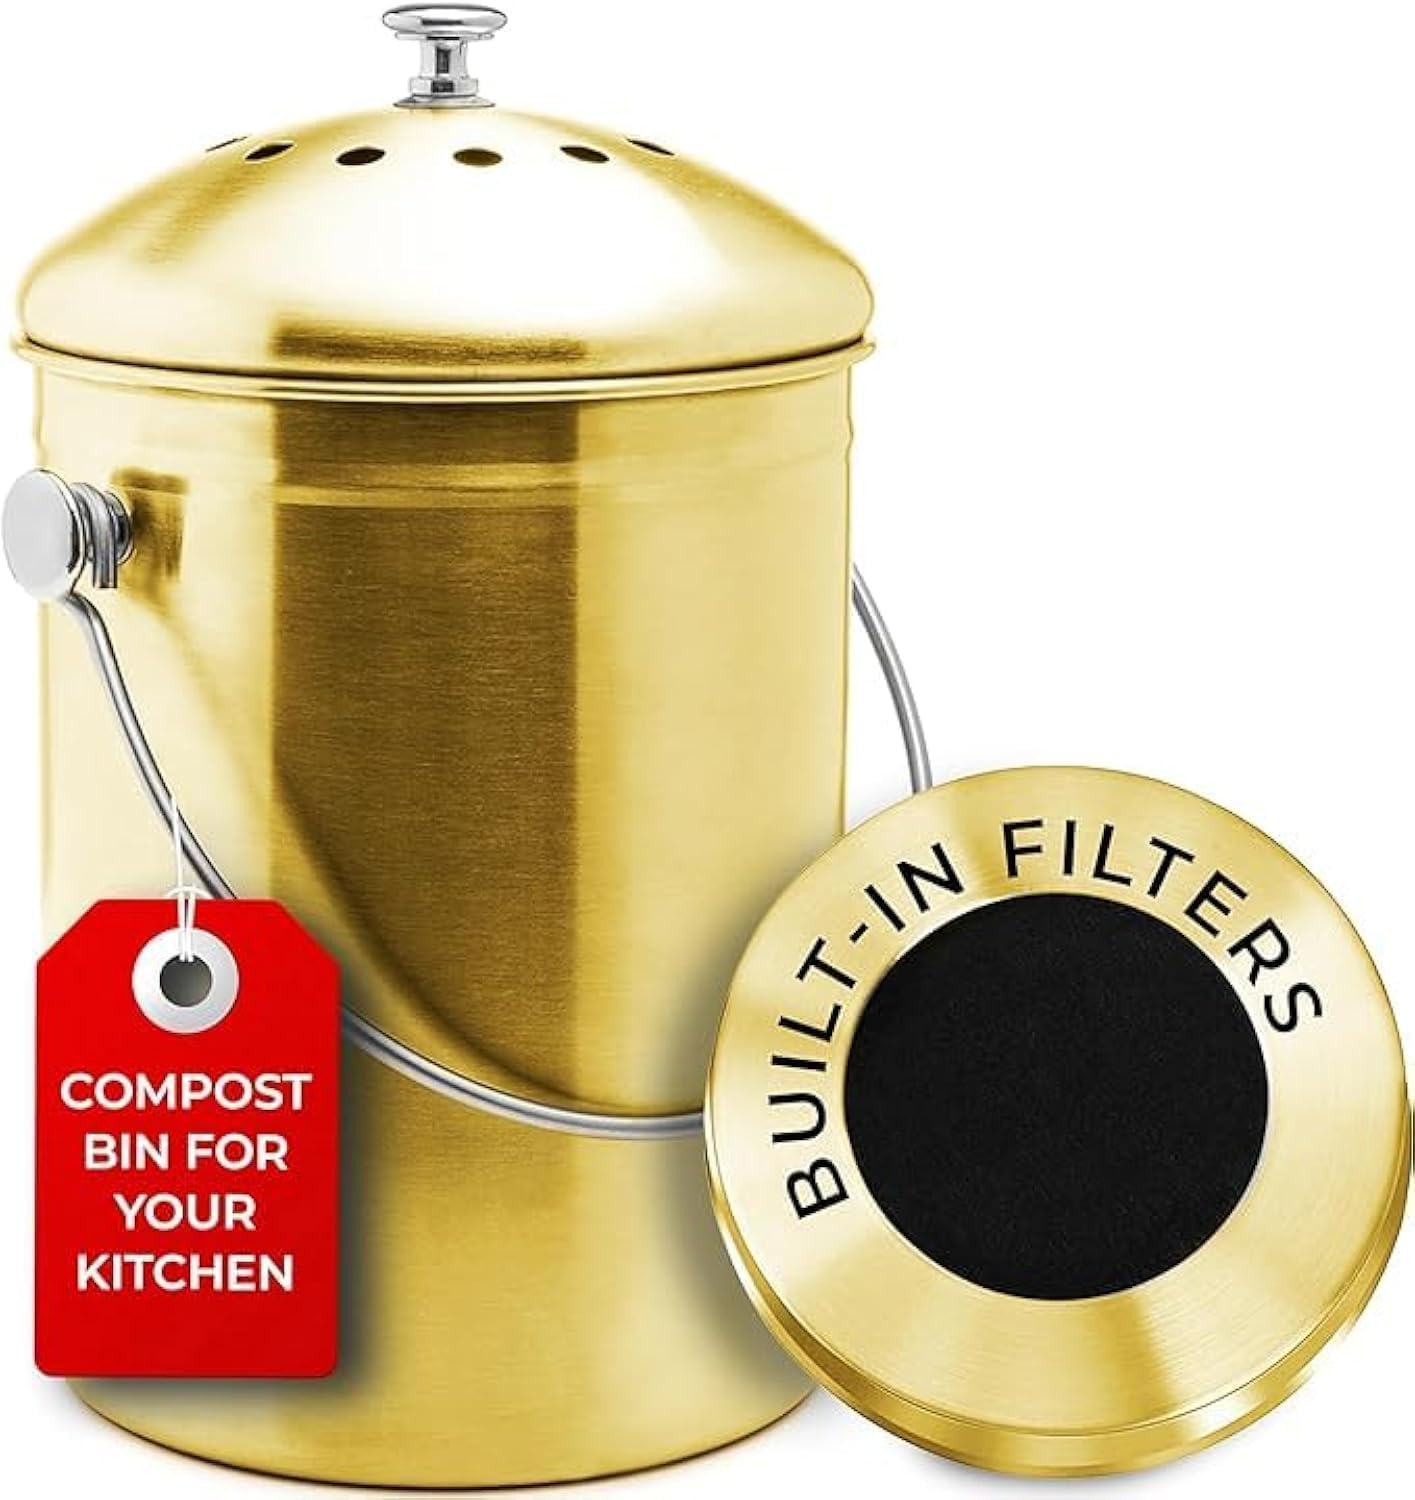
| EPICA Countertop Compost Bin 1.3 gallon, charcoal filter | Odor Control | $ | |

| Full Circle Fresh Air Compost Bin Easy-open lid, 1.5 gallon | Frequent composters | $$ |
Coffee Grounds and Tea Bags
Coffee grounds are nitrogen-rich and break down quickly. Even better—they’re slightly acidic, which benefits acid-loving plants like tomatoes, blueberries, and roses.
What works:
- Used coffee grounds
- Paper coffee filters (unbleached)
- Tea bags (remove staples and tags)
- Loose tea leaves
Bonus: Many coffee shops will give you their used grounds for free. Just ask!
Pro tip: Don’t add too much at once. Coffee grounds can clump and prevent airflow if added in thick layers. Mix them with browns.
Fresh Grass Clippings
Grass clippings are one of the easiest green materials to collect, you can pull it out of the mower bag.
Best practices:
- Use untreated grass (no herbicides or pesticides)
- Add in thin layers to prevent matting
- Mix with dry leaves or straw
- Let clippings dry slightly before adding if they’re really wet
Warning: Fresh grass clippings can get slimy and smelly fast if you pile them too thick. Always layer with browns.
Yard Trimmings and Plant Debris
Fresh plant trimmings from pruning, deadheading flowers, or clearing garden beds are excellent green materials.
Good options:
- Fresh leaves and stems
- Deadheaded flowers
- Weeds (without seeds or roots)
- Vegetable plant trimmings after harvest
- Spent annual plants
Avoid:
- Diseased plants (can spread disease)
- Weeds that have gone to seed
- Invasive plant species
- Thorny branches (pain to handle)
Pro tip: Chop larger trimmings into smaller pieces—they’ll break down faster.
Animal Manure (Herbivores Only)
Manure from herbivorous animals is compost gold—it’s packed with nitrogen and beneficial microorganisms.
Safe to use:
- Chicken manure (very high in nitrogen!)
- Rabbit droppings
- Cow manure
- Horse manure
- Sheep or goat manure
NEVER use:
- Dog or cat waste (contains harmful pathogens)
- Pig manure (omnivores—not safe)
- Carnivore manure of any kind
Important: Fresh manure can burn plants. Always compost it fully before adding to your garden beds.
Eggshells
Technically not “green,” but eggshells add calcium to your compost and help balance pH.
Best practices:
- Rinse them first (reduces smell)
- Crush them into small pieces
- Add to compost or sprinkle directly around plants
Eggshells take longer to break down than other materials, but they’re worth adding for the calcium boost.
Fresh Seaweed and Kelp
If you live near the coast, seaweed is a fantastic free compost material. It’s loaded with trace minerals that plants love.
How to use:
- Rinse off excess salt
- Chop into smaller pieces
- Add to compost pile or use as mulch
Bonus: Seaweed breaks down quickly and doesn’t need to be composted—you can use it fresh as mulch.
Green Materials to Avoid
Not everything that seems “green” belongs in your compost:
❌ Meat, fish, or bones – Attracts pests, smells terrible
❌ Dairy products – Same issues as meat
❌ Oils or grease – Slows decomposition, attracts animals
❌ Pet waste (dogs/cats) – Contains harmful bacteria
❌ Diseased plants – Spreads disease to your garden
❌ Treated lawn clippings – Chemicals harm beneficial microbes
How to Use Green Materials Properly
Layer Them
Don’t dump all your greens in one pile. Layer them with browns:
- 3 inches browns
- 1-2 inches greens
- Repeat
This prevents matting and keeps airflow going.
Chop Larger Items
Smaller pieces = faster decomposition.
Chop up vegetable scraps, break up plant stems, and shred larger leaves. Your compost will thank you.
Keep It Balanced
Too many greens = wet, smelly, slimy mess
Too many browns = slow, inactive pile
Aim for that 1:2 or 1:3 green-to-brown ratio.
Monitor Moisture
Your compost should feel like a wrung-out sponge—damp but not dripping.
Too wet? Add more browns (dry leaves, shredded paper)
Too dry? Add water or more green materials
Turn It Regularly
Every 1-2 weeks, turn your compost with a pitchfork. This adds oxygen and prevents anaerobic decomposition (which causes that rotten smell).
Compost Turning Tools
PREVIEW | PRODUCT | BEST FOR | PRICE | VIEW |

| Lotech Compost Crank Twist Compost Aerator Corkscrew design, 33 inches long | Lazy composters | $50.00 | |

| Truper Manure Fork for Compost 5-tine forged steel, Heavy-duty construction | Traditional turning | $45.00 |
Composting Systems for Green Materials
Different systems handle green materials differently:
Traditional Compost Pile
- Cheapest option (free!)
- Requires turning
- Takes 6-12 months
Tumbling Composter
- Easier turning (just spin it)
- Faster decomposition (2-3 months)
- More expensive
Tumbling Composters
PREVIEW | COMPOSTER | CAPACITY | PRICE | VIEW |
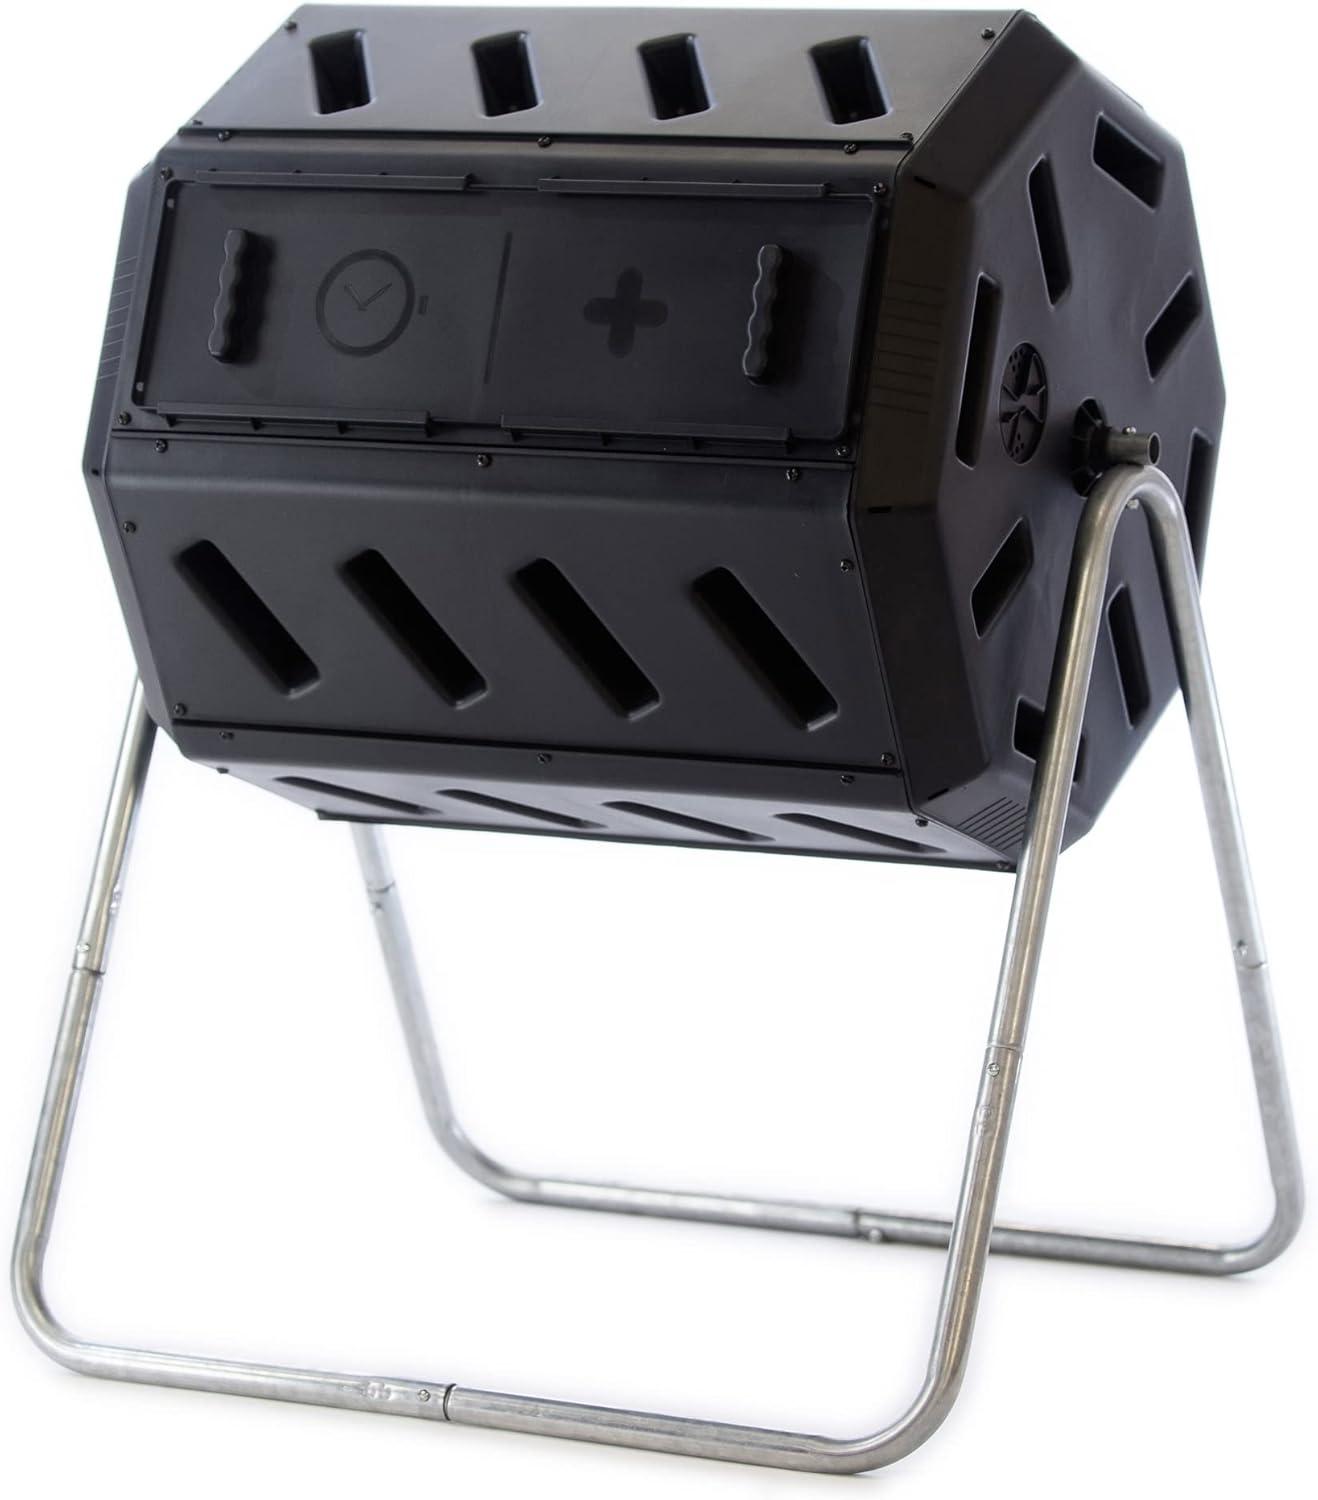
| FCMP Outdoor Dual Chamber Tumbling Composter Two sides, continuous composting | 37 gallons | $$ | |

| Miracle-Gro Compost Tumbler Single chamber, entry-level compost bin | 18.5 gallons | $ | |

| Jora Composter JK 270 Compost Tumbler Insulated for faster composting, Professional-grade | 70 gallons | $$$$ |
Worm Composting (Vermicomposting)
- Perfect for apartments
- Handles kitchen scraps beautifully
- Produces compost faster (2-3 months)
- Requires red wiggler worms
Worm Composting Materials
PREVIEW | PRODUCT | BEST FOR | PRICE | VIEW |

| The Original Vermihut Plus 5 Tray Worm Composter Indoor and outdoor use | Beginners | $ | |

| Uncle Jim’s Worm Farm 100 Count Red Wiggler Composting Worms composting worm mix, simple | Beginners | $ |
How to Use Finished Compost
Once your compost is dark, crumbly, and earthy-smelling, it’s ready!
🌱 Mix into garden beds – Spread 2-3 inches and work it in before planting
🌿 Use as mulch – Spread around plants to retain moisture and feed soil
🪴 Add to potting mix – Mix 25% compost with potting soil for containers
🏡 Top-dress lawns – Sprinkle thin layer and rake it in
☕ Make compost tea – Steep compost in water, strain, use as liquid fertilizer
Quick Tips for Success
✅ Collect kitchen scraps daily – Keep a countertop bin
✅ Rinse containers – Reduces smell and pests
✅ Chop everything small – Faster breakdown
✅ Layer greens and browns – Prevents clumping
✅ Keep it damp – Like a wrung-out sponge
✅ Turn weekly – Adds oxygen, speeds process
✅ Be patient – Good compost takes time
Conclusion
Green compost materials are the fuel that makes your compost pile work. From kitchen scraps to grass clippings to coffee grounds, these nitrogen-rich ingredients speed up decomposition and create nutrient-packed compost for your garden.
Most of these materials are already in your kitchen or yard, going to waste. By composting them instead of trashing them, you’re creating free fertilizer, reducing landfill waste, and building healthier soil.
Ready to start? Grab a kitchen compost pail, start collecting your scraps, and build that compost pile.
Questions about composting green materials? Drop a comment below!