
Compost is decomposed organic matter. That’s it.
When bacteria, fungi, and worms break down things like vegetable scraps, grass clippings, and dry leaves, they transform into a dark, soil-like material packed with nutrients.
This stuff improves your soil structure, helps retain moisture, and feeds your plants naturally. No chemicals needed.
Free fertilizer that you make from stuff you’d normally throw away.
Why Bother Composting?
For Your Garden:
- Enriches soil with nutrients plants actually need
- Improves drainage in clay soil, holds moisture in sandy soil
- Reduces need for chemical fertilizers
- Helps prevent plant diseases
For the Environment:
- Keeps food waste out of landfills (where it produces methane)
- Reduces your carbon footprint
- Creates a sustainable cycle in your yard
For Your Wallet:
- Free fertilizer and soil amendment
- Reduces trash disposal costs
- Cuts down on purchased soil and mulch
The Two Key Ingredients: Greens and Browns
Good compost needs a balance of two types of materials:
🟢 Green Materials (Nitrogen-Rich)
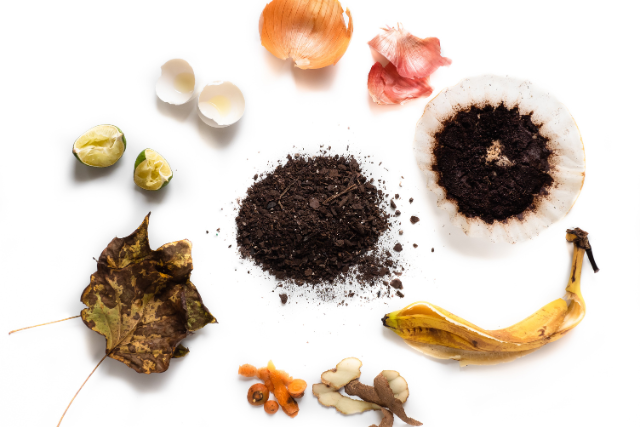
These are fresh, moist materials that fuel the decomposition process:
- Fruit and vegetable scraps
- Fresh grass clippings
- Coffee grounds and tea bags
- Fresh plant trimmings
- Weeds (without seeds)
Think: Wet, fresh, recently alive stuff
🟤 Brown Materials (Carbon-Rich)
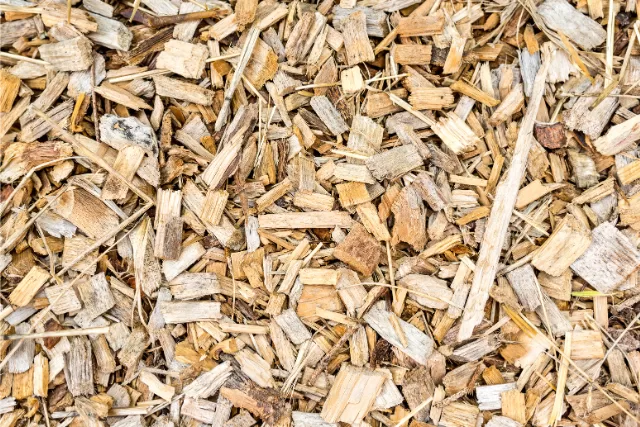
These are dry materials that add structure and prevent smell:
- Dry leaves
- Straw or hay
- Shredded newspaper or cardboard
- Dried plant stems
- Wood chips or sawdust (untreated only)
Think: Dry, crunchy, dead stuff
The Magic Ratio
Aim for roughly 2-3 parts brown to 1 part green.
Too many greens = smelly, slimy mess
Too many browns = slow decomposition
No need to stress about perfection though; composting is forgiving. Just try to layer greens and browns as you add them.
What You Need to Start Composting
Option 1: Simple Pile Method (Free)
Just pile your materials in a corner of your yard. That’s it. Turn it occasionally with a pitchfork. Takes 6-12 months but requires zero investment.
Option 2: Compost Bin
A bin keeps things tidy, speeds up decomposition, and keeps pests out.
Compost Bin Comparison
PREVIEW | COMPOSTER | CAPACITY | PRICE | VIEW |
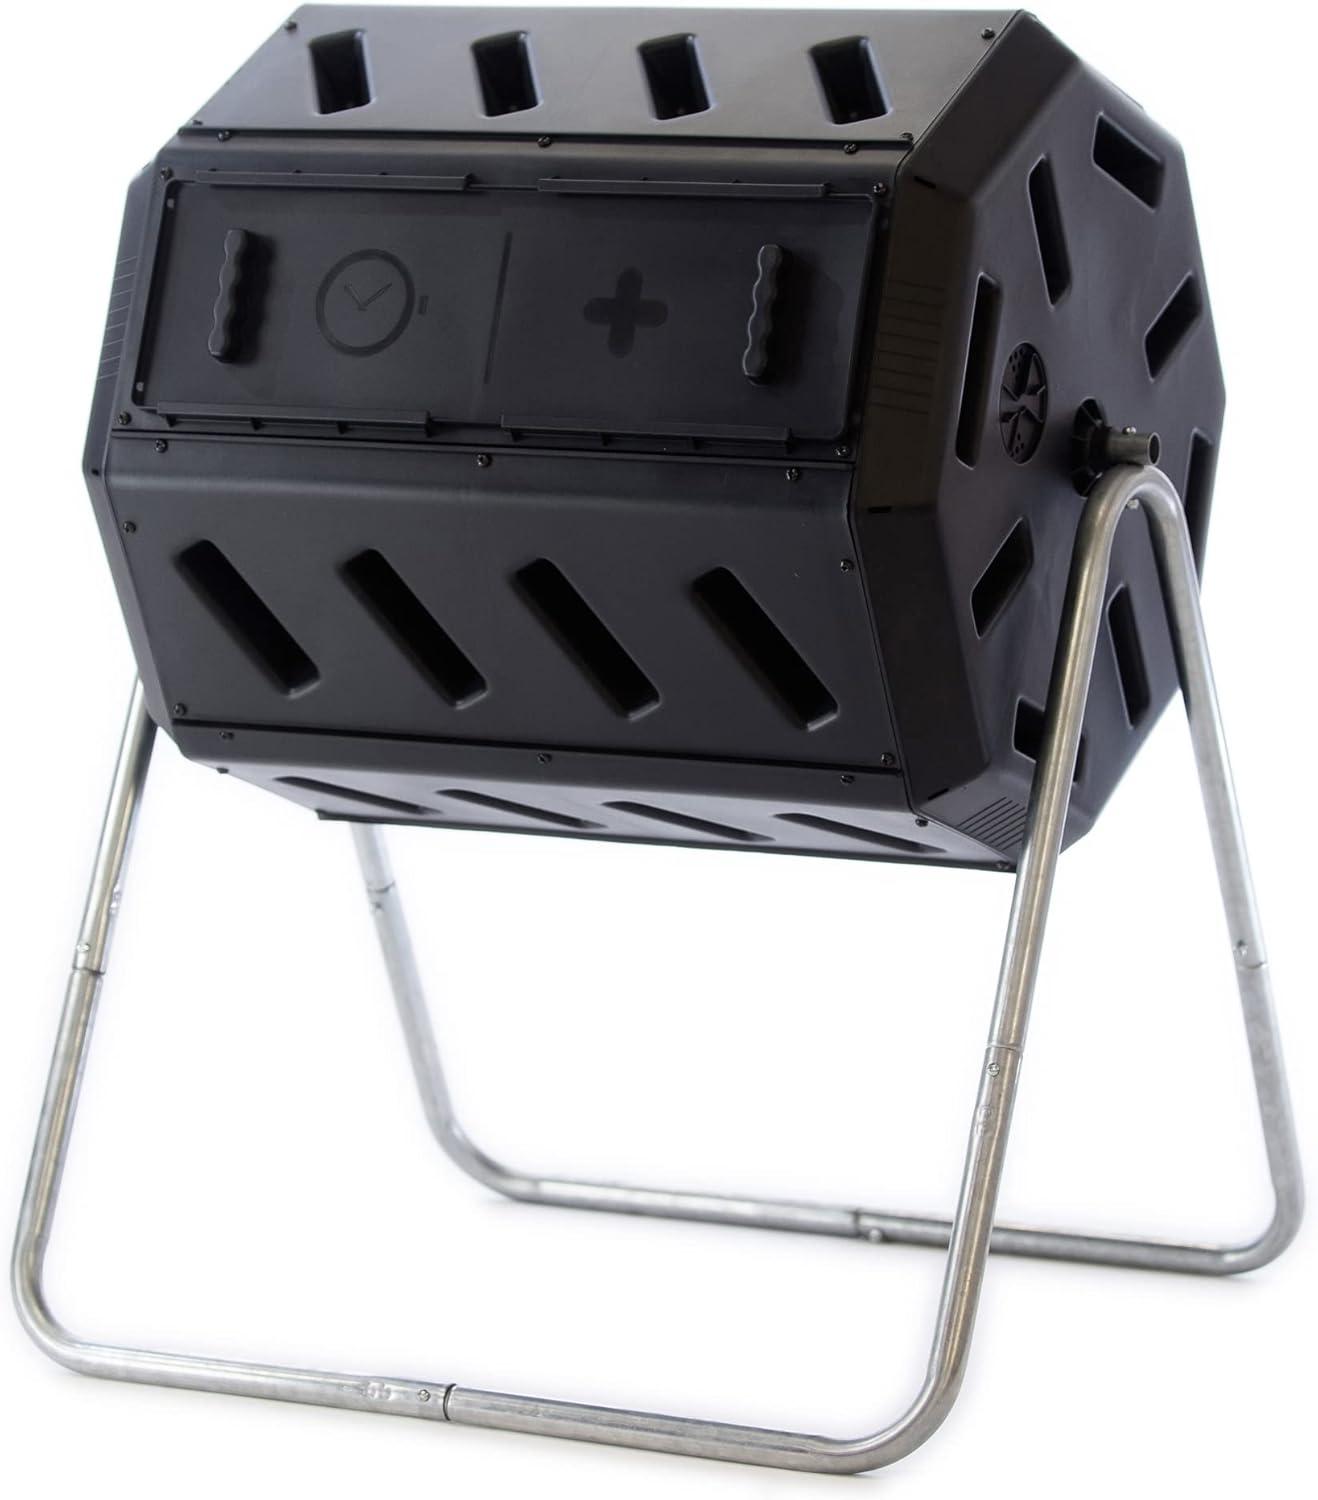
| FCMP Outdoor Dual Chamber Tumbling Composter Two sides, continuous composting | 37 gallons | $$ | |

| Miracle-Gro Compost Tumbler Single chamber, entry-level compost bin | 18.5 gallons | $ | |

| Jora Composter JK 270 Compost Tumbler Insulated for faster composting, Professional-grade | 70 gallons | $$$$ |
Option 3: Worm Composting (Vermicomposting)
If you’re in an apartment or have limited space, worm bins work indoors and produce compost faster.
Worm Composting Materials
PREVIEW | PRODUCT | BEST FOR | PRICE | VIEW |

| The Original Vermihut Plus 5 Tray Worm Composter Indoor and outdoor use | Beginners | $ | |

| Uncle Jim’s Worm Farm 100 Count Red Wiggler Composting Worms composting worm mix, simple | Beginners | $ |
How to Actually Make Compost (Step-by-Step)
Step 1: Choose Your Location
Pick a spot that’s:
- Partially shaded (full sun dries it out)
- Well-drained (not in a puddle zone)
- Accessible year-round
- At least 3 feet away from structures
Step 2: Start Your Pile
Bottom layer: Twigs or straw (helps with drainage and airflow)
Then alternate:
- Layer of brown materials (6 inches)
- Layer of green materials (3 inches)
- Repeat
Step 3: Add Water
Your compost should feel like a wrung-out sponge—damp but not dripping.
Too dry? Add water or more greens
Too wet? Add more browns and turn the pile
Step 4: Turn It Regularly
Every 1-2 weeks, use a pitchfork to turn your pile. This adds oxygen and speeds up decomposition.
If you’re lazy, you can just let it sit. It’ll take longer but still works.
Step 5: Wait
Hot composting (turning regularly): 2-3 months
Cold composting (ignoring it): 6-12 months
You’ll know it’s ready when it’s dark, crumbly, and smells earthy, not rotten.
Essential Composting Tools
PREVIEW | PRODUCT | WHY YOU NEED IT | PRICE | VIEW |

| Lotech Compost Crank Twist Compost Aerator | Long corkscrew for turning without digging | $ | |

| Reotemp 20 Inch Fahrenheit Backyard Compost Thermometer | Monitor temperature for hot composting | $ | |

| EPICA Countertop Compost Bin Kitchen | Counter container for scraps | $ | |

| Truper Manure Fork for Compost | Best for manual turning | $ |
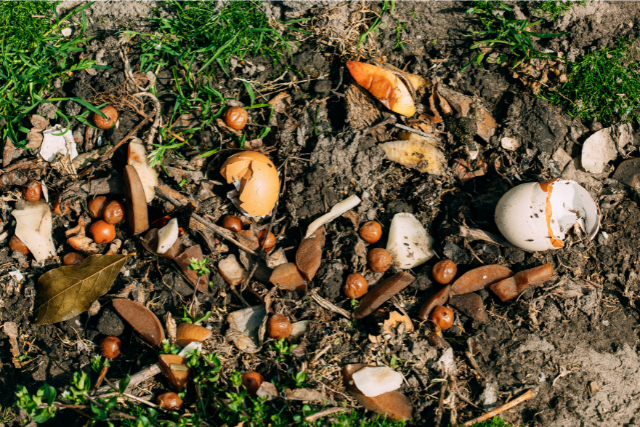
What NOT to Compost
❌ Never Add:
- Meat, fish, or bones (attracts pests, smells awful)
- Dairy products (same issues)
- Diseased plants (spreads disease)
- Pet waste (dog/cat – contains harmful bacteria)
- Chemically treated wood or plants
- Weeds with seeds (unless pile gets super hot)
✅ Safe to Add:
- All fruit and vegetable scraps
- Eggshells (crushed)
- Coffee grounds and filters
- Tea bags (remove staples)
- Grass clippings and leaves
- Shredded paper and cardboard
- Dryer lint (cotton only)
How to Use Your Finished Compost
Once the compost is dark, crumbly, and earthy-smelling, it’s ready to roll.
Mix Into Garden Beds
Spread 2-3 inches over soil and work it in. Perfect before planting.
Use as Mulch
Spread around plants to retain moisture and suppress weeds.
Top-Dress Lawns
Sprinkle a thin layer over grass and rake it in. Boosts lawn health naturally.
Add to Potting Mix
Mix 25% compost with potting soil for containers.
Make Compost Tea
Steep compost in water for a few days, strain, and use as liquid fertilizer.
Compost Accelerators & Additives
Want faster compost? Accelerators add beneficial bacteria and microorganisms that speed up decomposition. They’re especially useful for new piles or when your compost seems stuck.
Note: These are compost starters, not fertilizers. They help break down materials, not feed plants.hese products help:
Compost Accelerators
PREVIEW | PRODUCT | WHAT IT DOES | PRICE | VIEW |

| Jobe’s Organics Fast Acting Granular Fertilizer Compost Starter Adds beneficial bacteria | Speeds decomposition | $ | |

| DR. Earth Premium Compost Starter Organic, probiotic formula | Boosts microbial activity | $ | |

| Dr. Connie’s Compost Plus Biological inoculant | Faster, hotter composting | $ |
Quick Composting Tips
✅ Chop materials smaller – breaks down faster
✅ Keep pile moist – like a damp sponge
✅ Turn regularly – adds oxygen, speeds process
✅ Maintain 3x3x3 ft minimum size – retains heat better
✅ Add diversity – variety of materials = better compost
✅ Be patient – even slow compost is worth it
Conclusion
Compost isn’t complicated; it’s just controlled decomposition. Mix green and brown materials, keep it damp, turn it occasionally, and wait. That’s it.
Ready to start? Grab a compost bin or just start a pile in your yard. Thank me later.